I'm currently putting the finishing touches to a new Class 158 I've been working on and I'd like to get it as accurate as possible, so I thought I would ask if anyone here is familiar with the train and might be willing to answer a few questions about it. First off though I should say my intention is to release this as some form of payware so if it's not ok to be asking for such help here then just say and I'll leave it or delete the thread or if an admin does then that's fair enough.
Anyway, one thing I'm trying to do with this is to create a good cab driving experience so I'd be interested to know what the driving characteristics of the train are like when applying the brakes and the throttle.
At the minute for each throttle notch the speed increases roughly by about 15mph. I'm wondering if each notch is really that linear?
The train is pretty sluggish off the line and really needs to be in at least notch 3 to get it moving.
It will only wheel slip if you put it into notch 7 at less than 15mph.
Power to the engine is automatically cut when there is wheel slip.
Top speed is about 100mph. (I'm assuming the max speed of 90mph doesn't mean the train isn't actually capable of going faster than 90mph)
When braking the stopping distances from 80mph for each step are:
step 1: 0.69 miles (1110 metres)
step 2: 0.43 miles (692 metres)
step 3: 0.34 miles (547 metres)
emergency: 0.26 miles (418 metres)
Power is cut/can't be applied to the engine if brake step 2 or above is used.
Does any of this look reasonable/correct or is it way off and are there any other specific features or behaviours that you think the train might need?
One other thing, I think I've figured out a way to get the engine to start/stop so I'd be interested to know what the start up and shutdown procedure is for the 158 to see if it would be possible to implement it somehow.
Well that'll do for now and any info will be gratefully received.
Thanks,
Brendan
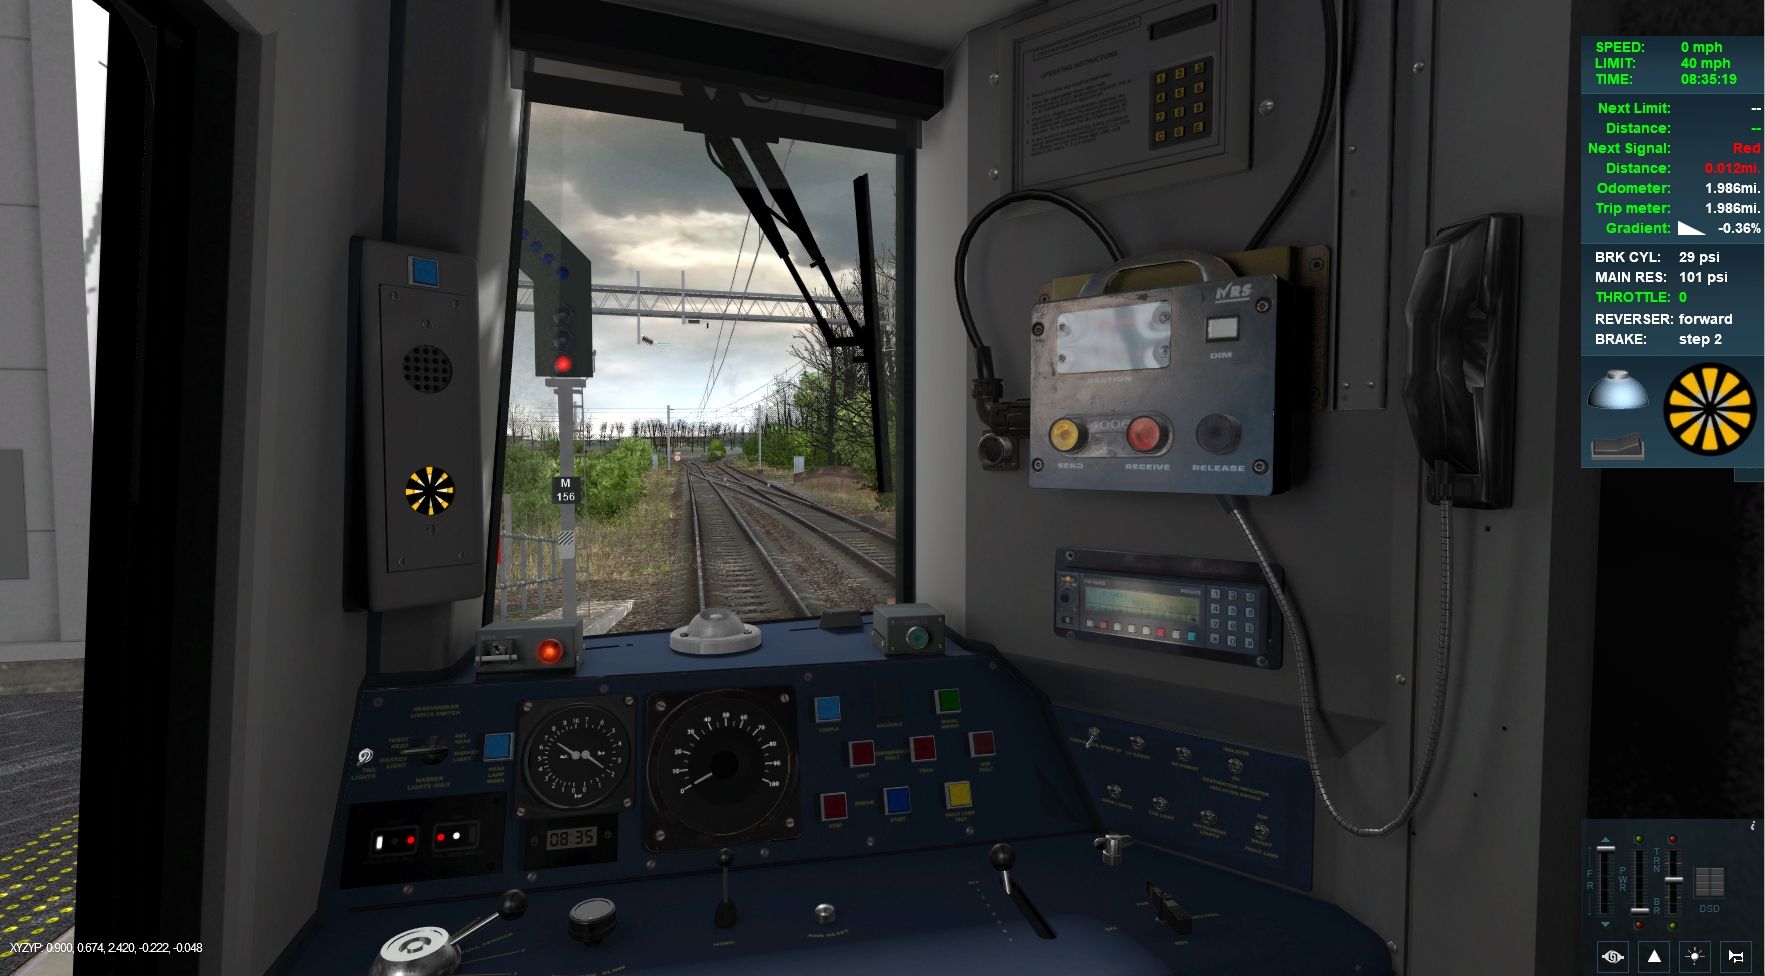
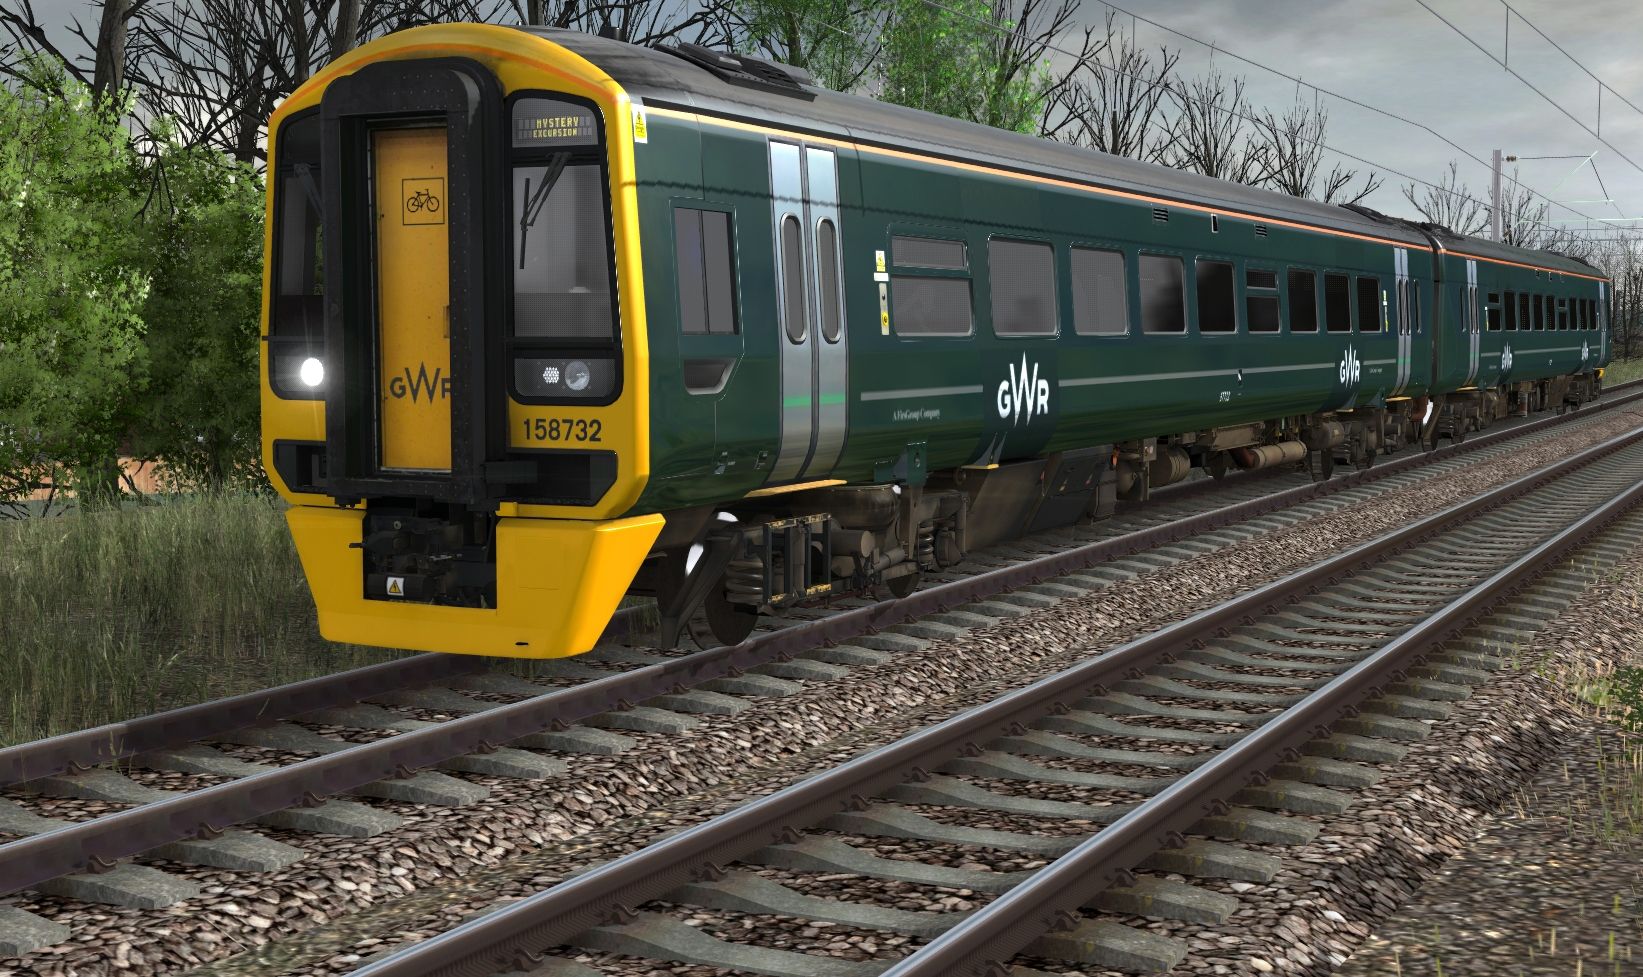
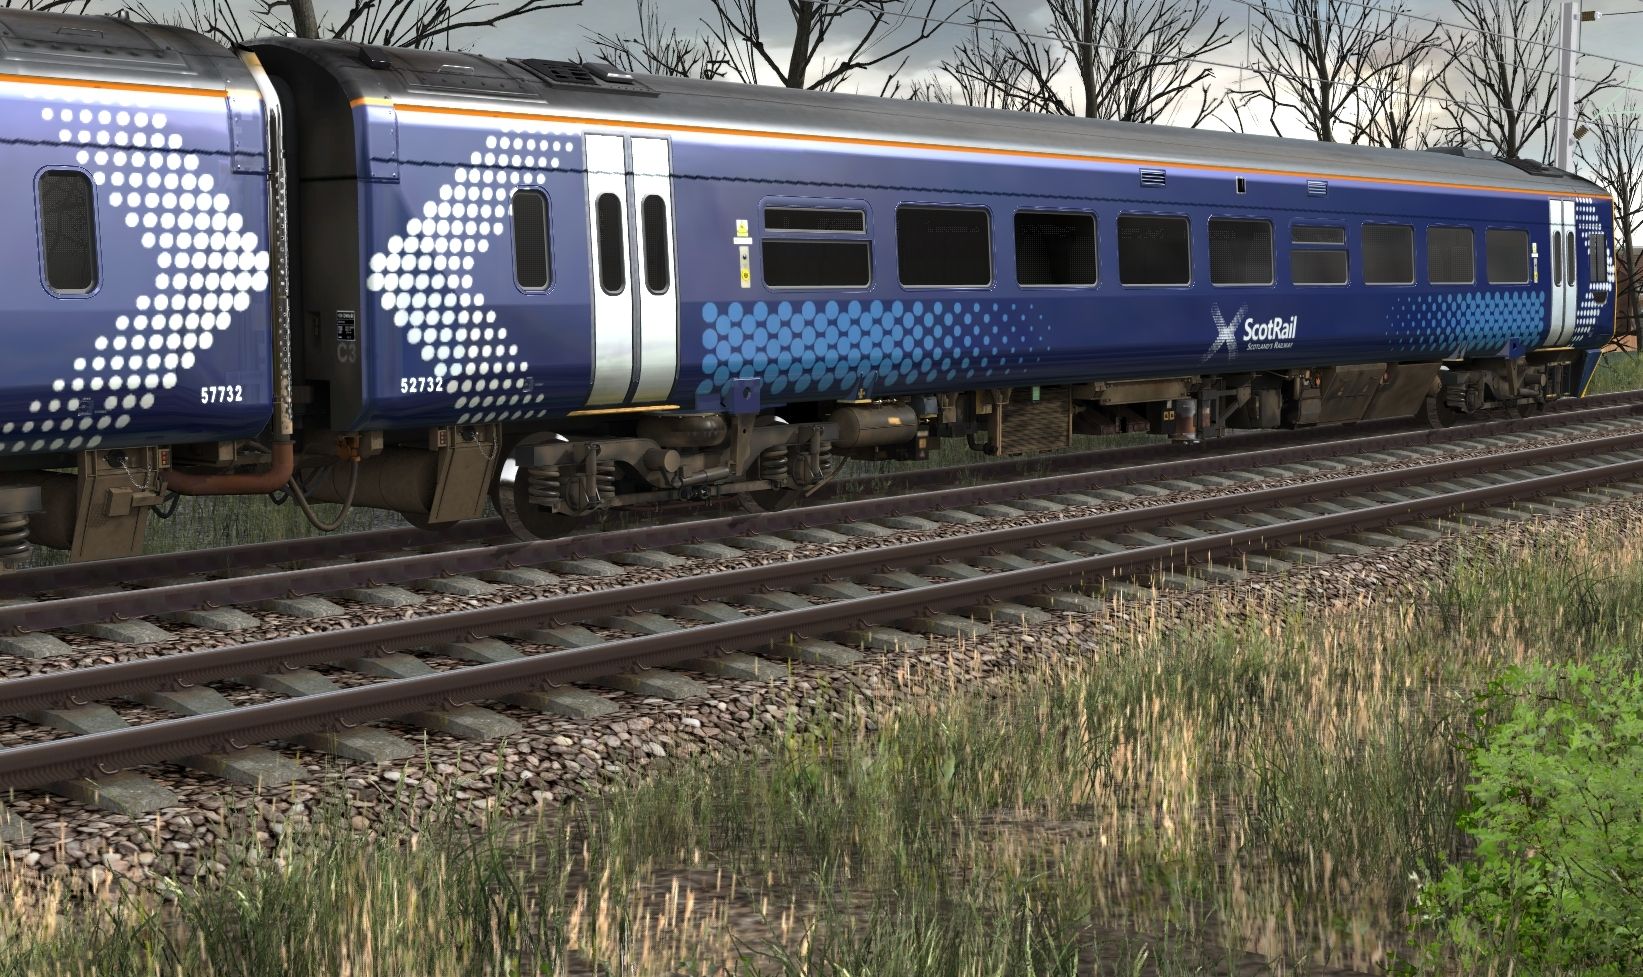
Here's a partial feature list and a few wip screenshots:
3 step brake.
Driver's Reminder Appliance.
Driver's Vigilance/Safety? Device.
Working Destination Indicator Controller.
Cab instrument lights.
AWS.
2 speed wipers.
2 tone horn (not a great sound effect to be honest)
Multiple liveries.
Animated doors.
Random/Definable running numbers. (I'm not sure if I can get this accurate by region. If I can I will.)
Swappable fairing/plough.
Swappable head lights type.
Custom HUD controls.